
Make it transparent
Place a clean subject cutout into another design without a visible rectangular backdrop.
Transparent Background Maker →Remove the background from a product photo, portrait, pet or graphic without tracing the subject by hand. Upload an image and let PxBee separate the subject from its surroundings.
Download a transparent cutout or continue with a white, colored, custom or AI-generated background.
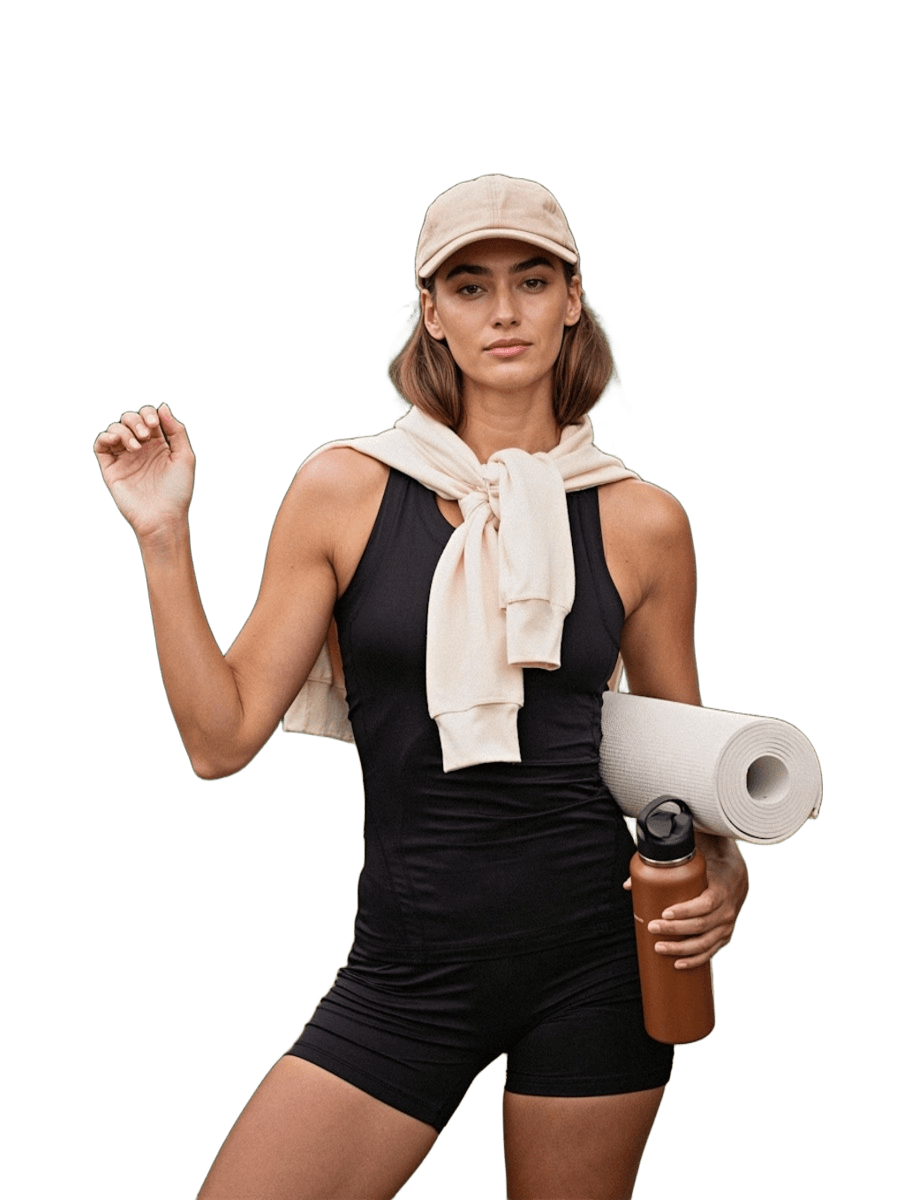

PxBee detects the main subject and builds a foreground cutout automatically. Keep the result transparent, add a white or solid color, upload another image, blur the original scene or generate a new background.
Choose a supported image from your device or drag it into the upload panel. PxBee checks the file before opening the background-removal workspace.
Upload an ImageStart with a clear source, let the editor isolate the subject, then inspect the result before download.
Choose a JPG, JPEG, PNG or WebP file from your device. Keep the main subject visible.
The editor separates the foreground subject and removes the surrounding area.
Check fine edges, then download the cutout or continue with another background.
Export transparency or continue with a presentation-ready white, colored, uploaded or generated scene.
Place a clean subject cutout into another design without a visible rectangular backdrop.
Transparent Background Maker →
Create a consistent appearance for product listings, catalogs and profile images.
White Background Tool →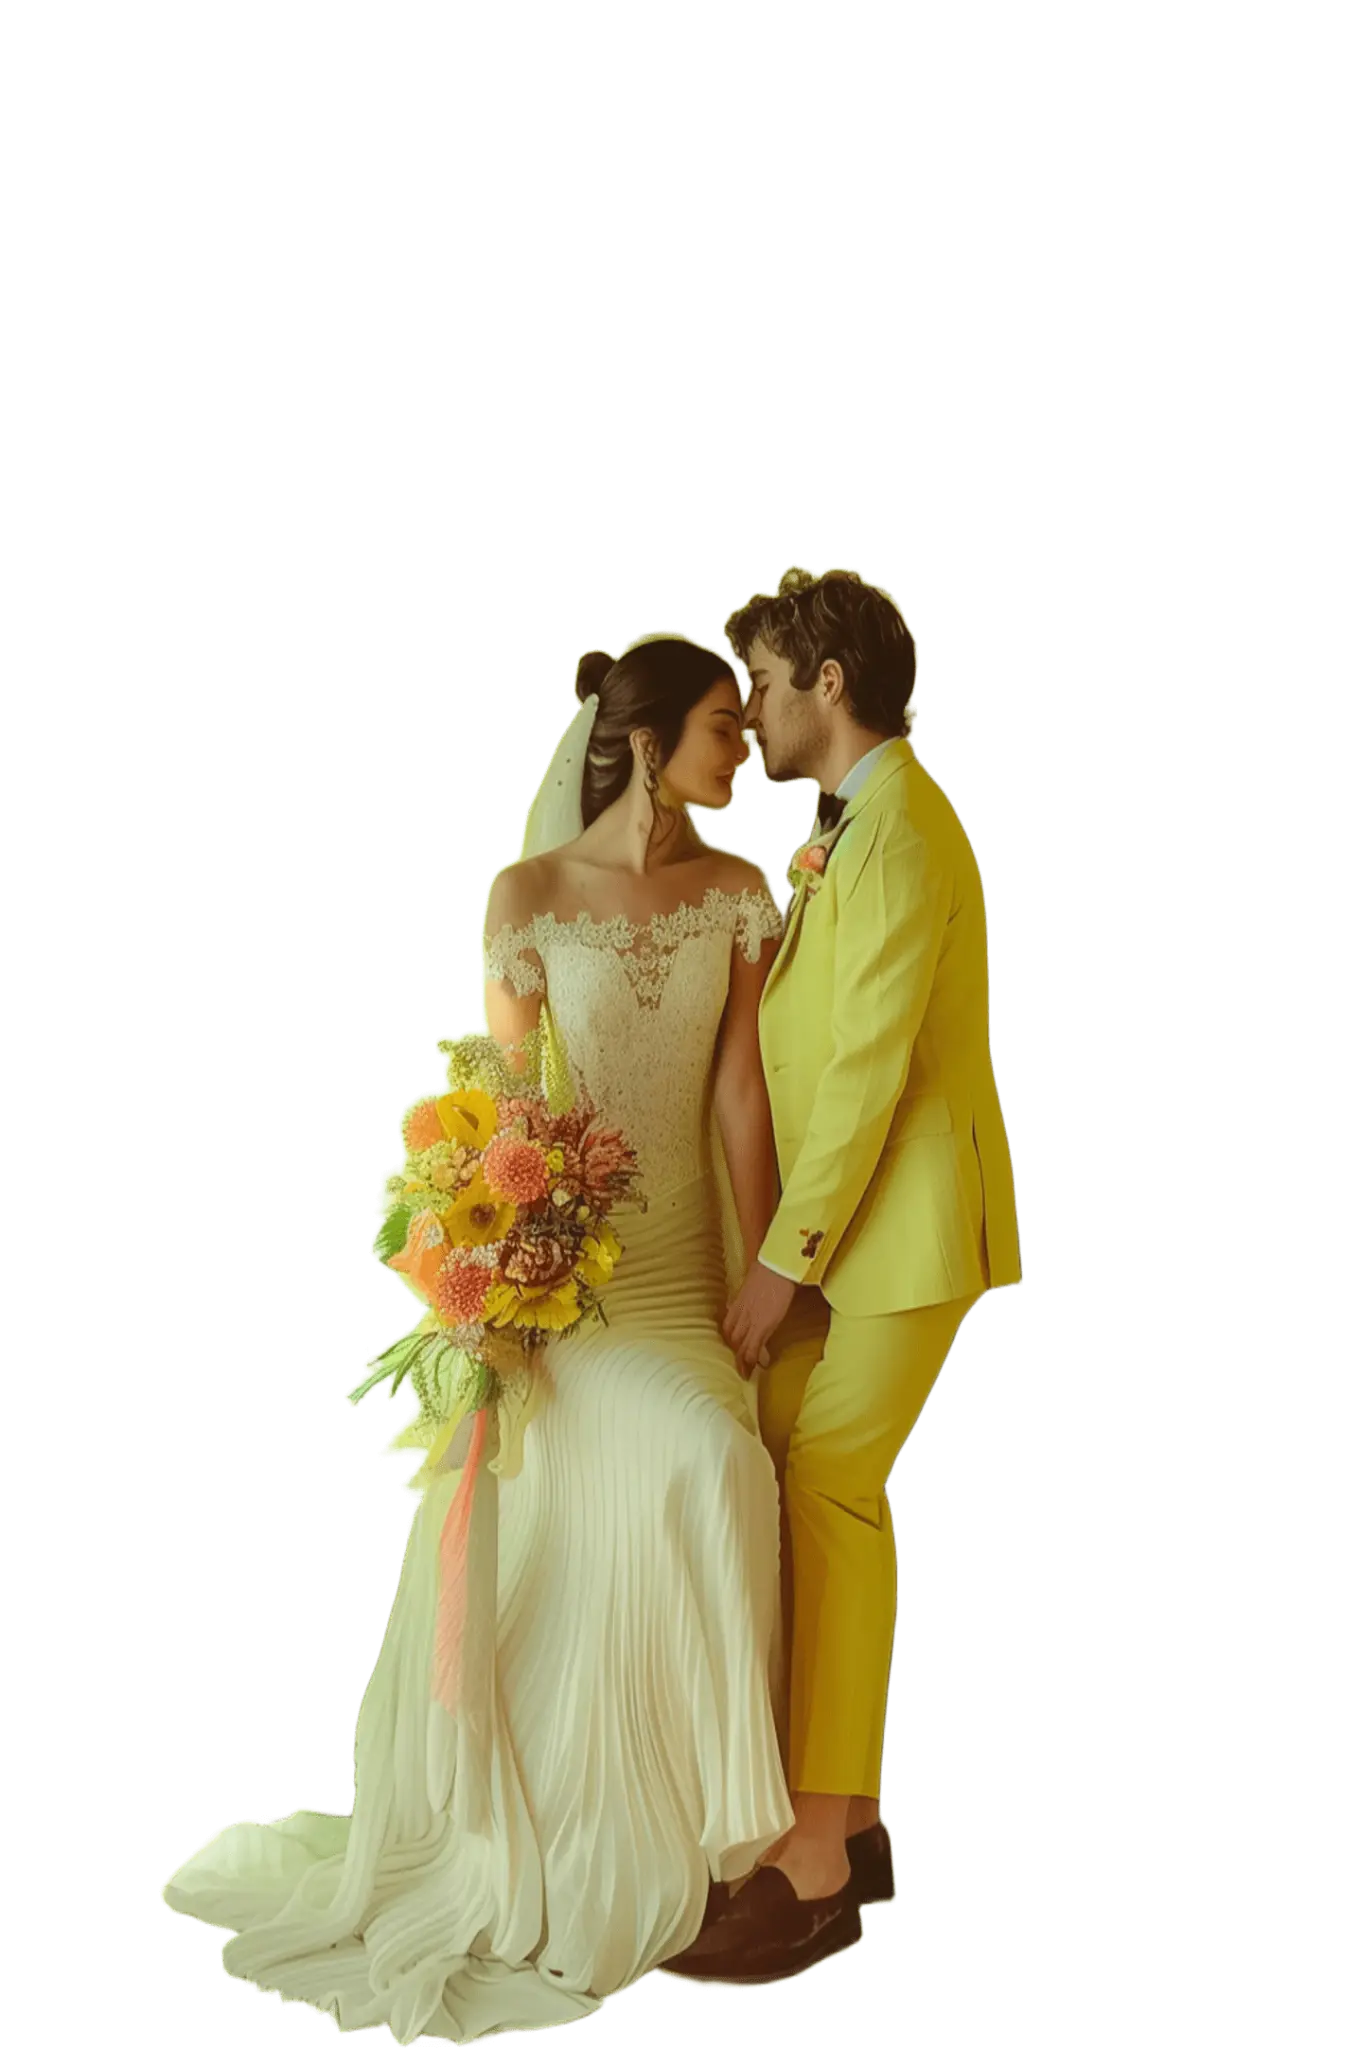
Apply a color that supports your brand or place the cutout over another uploaded image.
Background Changer →
Turn a simple subject photo into a lifestyle visual without arranging another photo shoot.
AI Background Generator →Marketplace rules differ. For example, Amazon’s main-image requirements can vary by product category. Confirm current rules in the official Product Image Guide.

Create cutouts for listings, catalogs, advertisements and store graphics—from clothing and electronics to cosmetics and handmade products.
Separate a person from a distracting room, outdoor scene or event background for profiles and presentations.
Remove a flat background for use on websites, slides and packaging. Try the Logo Background Remover.
Remove paper from a signature you own and are authorized to use with the Signature Background Remover.
Isolate a pet, person or object for invitations, stickers, collages and personal projects.
Build a removal mask without tracing the subject by hand.
Keep transparency or continue with white, color, blur, an upload or an AI scene.
Upload JPG, JPEG, PNG and WebP files through the browser.
Move to a specialist PxBee tool only when another adjustment is needed.
PxBee does not publicly identify the exact production model. The visible workflow can be explained through four editing functions.
Read the step-by-step guideThe system identifies the most likely main subject.
Image areas are classified and a digital mask is built around the subject.
The editor attempts to preserve hair, fur, clothing and product boundaries.
Removed areas become transparency for placement over a new background.
Difficult cases can include hair matching the background, glass, smoke, shadows, motion blur, overlapping people, tiny subjects, reflections, lace, mesh and busy patterns.
If the first cutout is not clean, try a larger image, clearer subject angle or available edge-refinement controls.
Read AI Image Editing Limitations →Choose the next specialist workflow only when the cutout needs another focused change.
Use AI Photo Enhancer when the subject looks soft, dark or low-resolution.
Open Photo Enhancer →02Use AI Image Extender for a wider, taller or differently proportioned layout.
Open Image Extender →03Use Magic Eraser when only one part of the photo needs to disappear.
Open Magic Eraser →04Select an image area and describe the new content with a prompt.
Open AI Replace →Upload a product photo, portrait, pet or graphic. Download the transparent result or continue with a white, colored, custom or AI-generated background.
JPG, JPEG, PNG and WebP supported