Increase image dimensions
Upscaling creates a larger pixel grid and estimates detail between original pixels. For dedicated resolution work, use the HD Photo Converter.
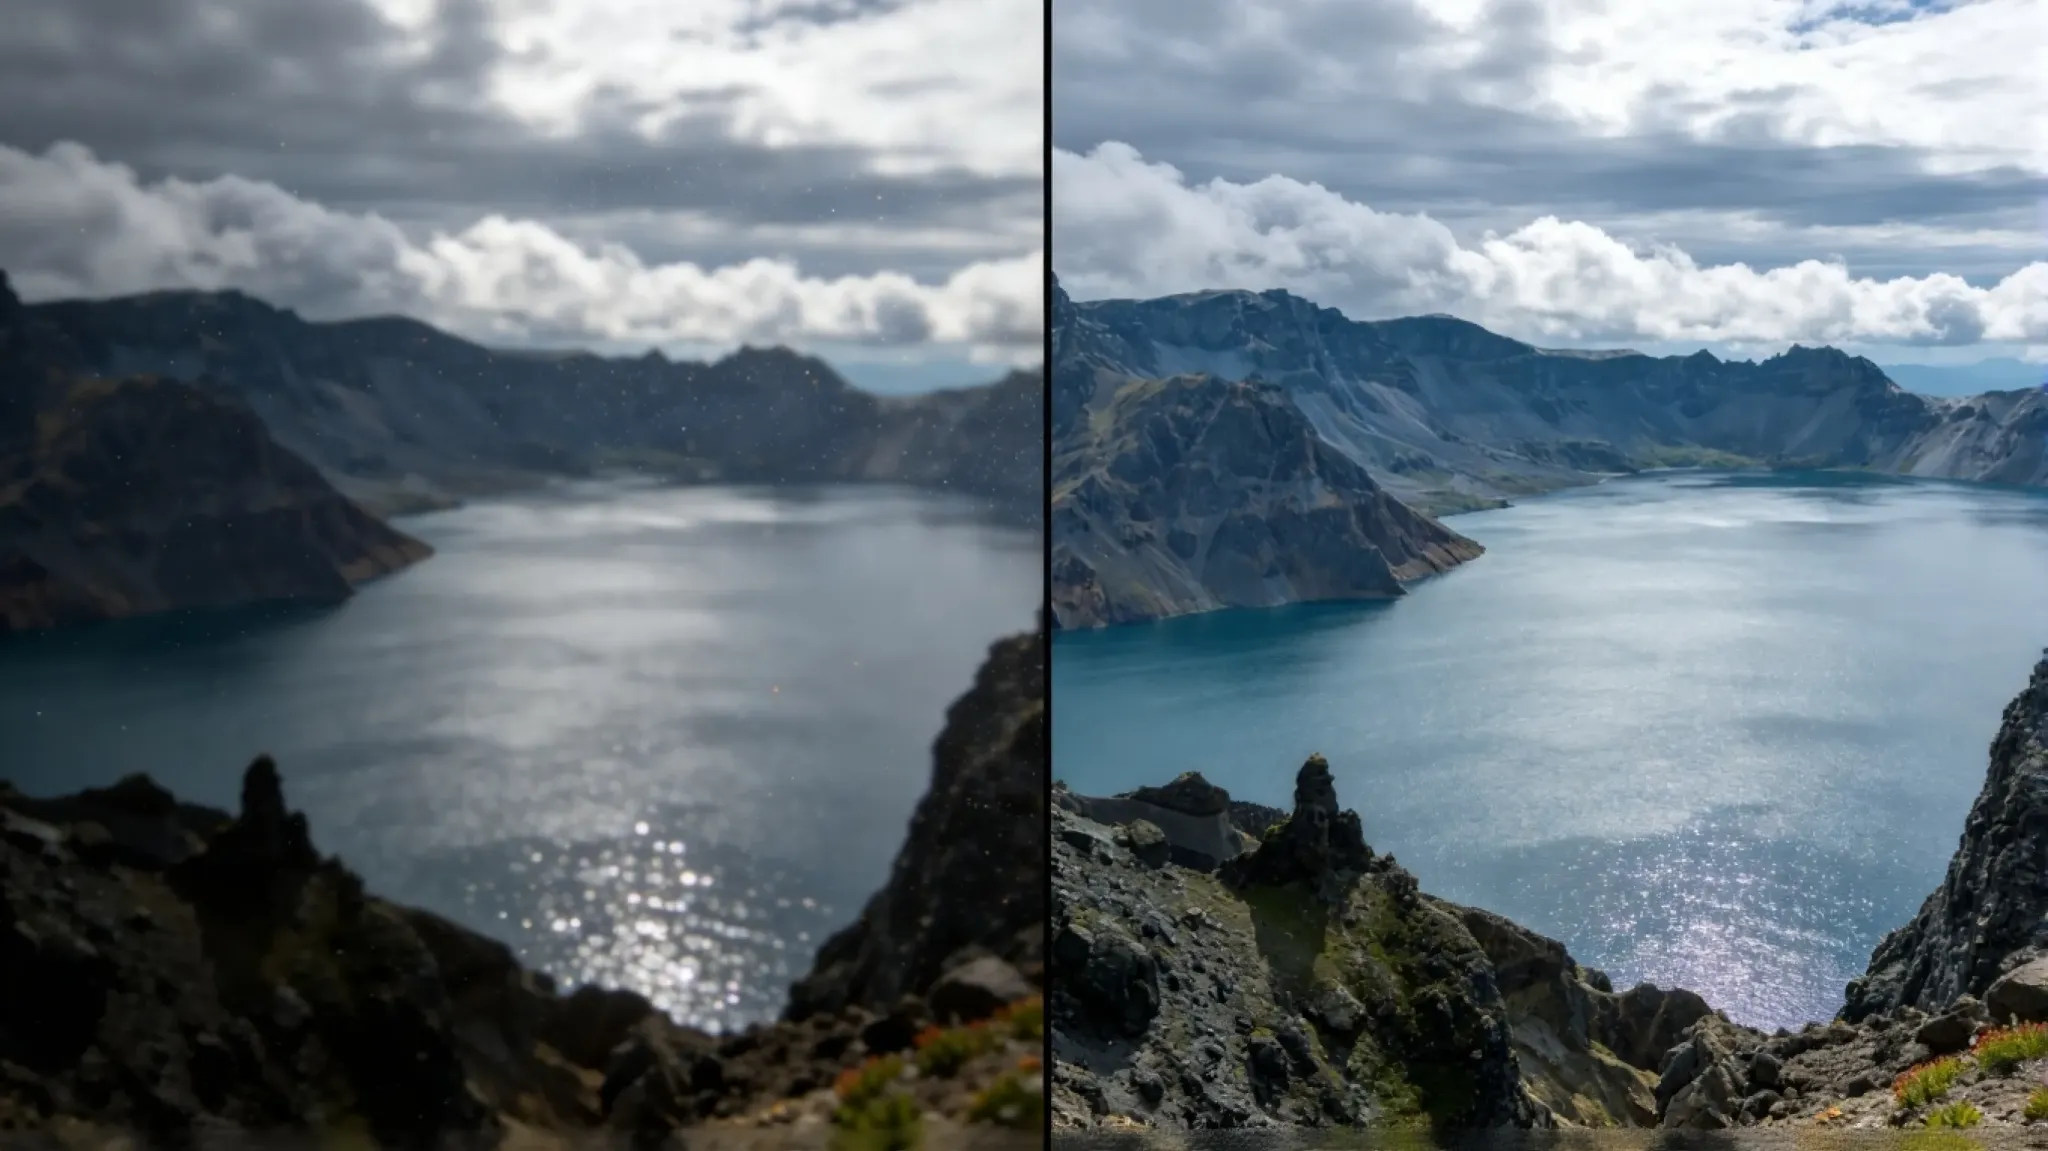
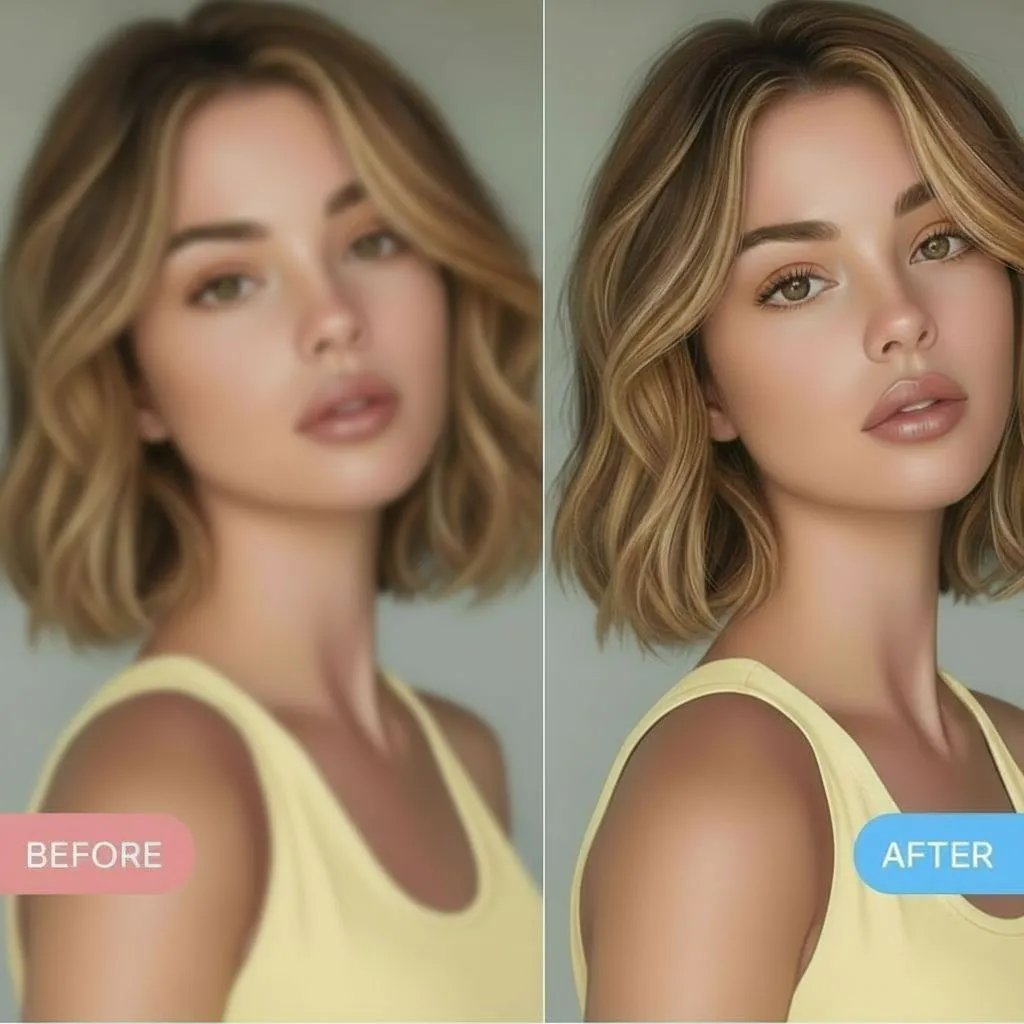
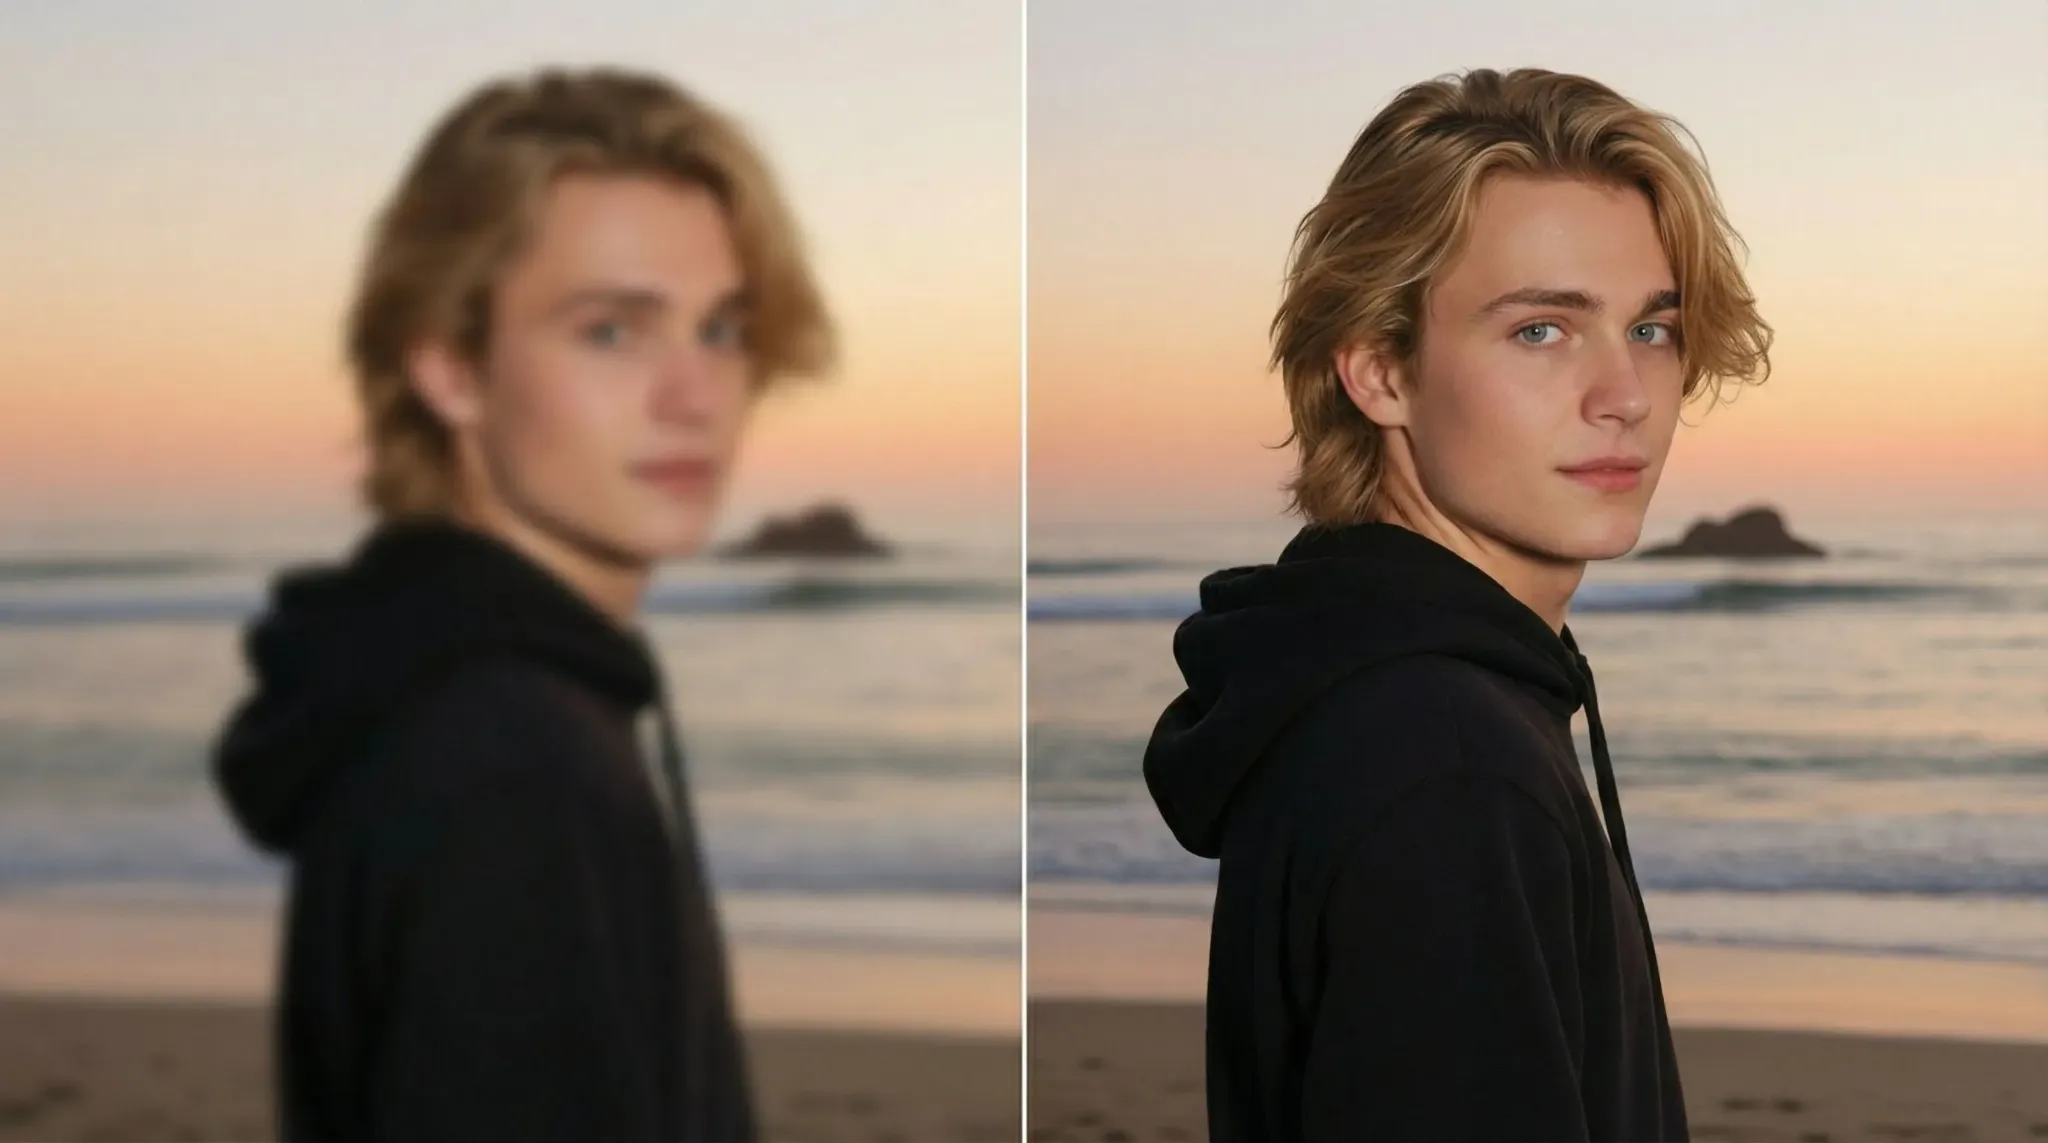
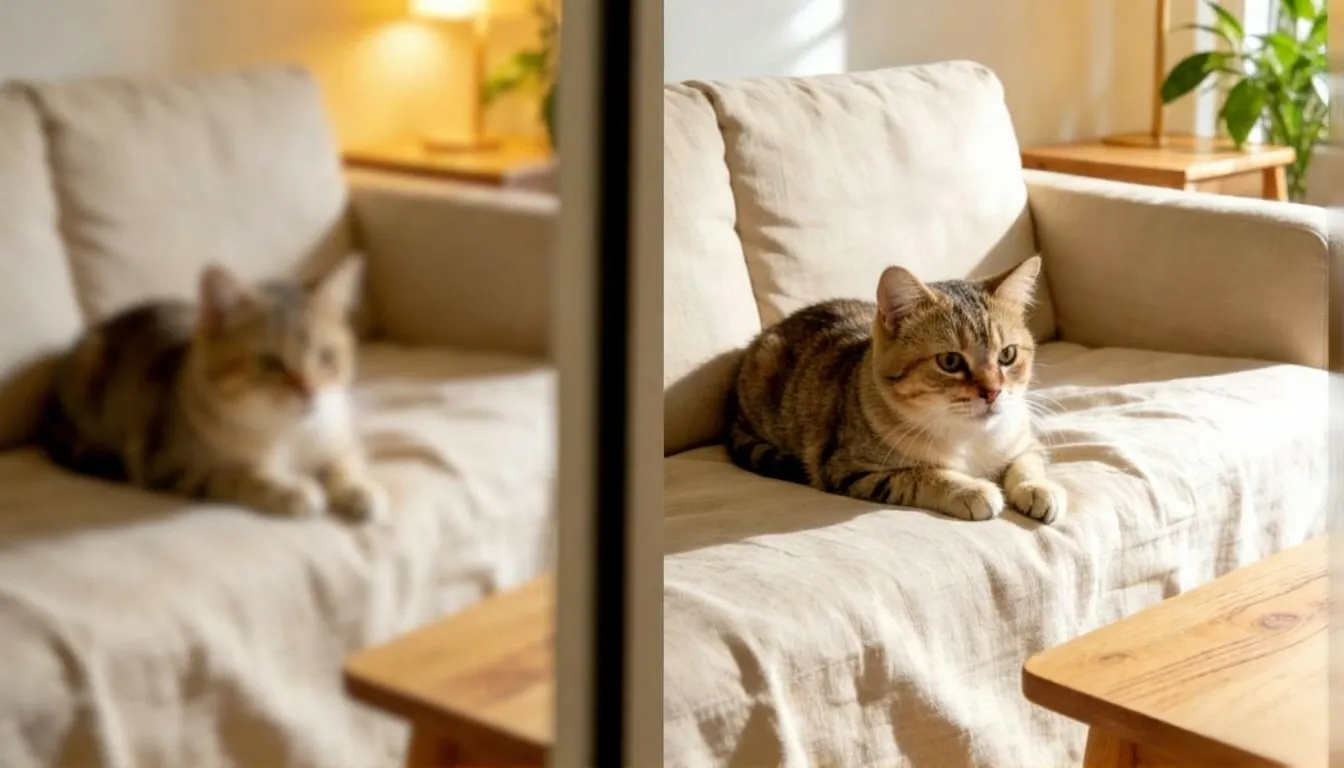
Drag the control to inspect the original and enhanced image.
Upload a small, soft, noisy, dark or compressed image. PxBee analyzes the photo and creates an enhanced version with improved clarity, resolution and overall appearance.
A photo can look disappointing because it is too small, slightly soft, noisy, dull, compressed or poorly lit. PxBee applies automatic adjustments intended to make it cleaner and easier to use.
Always compare the enhanced result with the original before using it.
An AI photo enhancer analyzes visible patterns and predicts adjustments that may improve an image’s appearance.
AI can make an image appear clearer, but it cannot reliably recover information that was never recorded. Plausible-looking generated pixels are not proof of what existed in the real scene.
Use the output as an enhanced visual—not as recovered evidence.
PxBee does not publicly identify the exact model used here. No model name, training-data claim or accuracy rate is asserted without documentation.
Choose a JPG, JPEG, PNG, HEIF, HEIC or WebP photo. Use the least-compressed original available.
PxBee analyzes the source and produces an enhanced version using the available processing options.
Inspect faces, text, product details, colors, edges, textures and areas with heavy blur or noise.
Confirm the downloaded pixel dimensions fit your website, social, presentation or printing use.
Save the available format and retain the original as the authoritative source.
Results depend on the source. Compare each output at full size before publishing or printing.
Upscaling creates a larger pixel grid and estimates detail between original pixels. For dedicated resolution work, use the HD Photo Converter.
Stronger edges and local contrast can look clearer, but excessive sharpening may create halos, harsh edges, artificial skin and crunchy product detail.
Denoising can smooth grain, color speckles and compression blocks, while aggressive processing can also erase real texture.
Automatic tonal adjustment may reveal shadow detail or lift a dull image. Check highlights and dark areas for clipping.
For product, property, fashion, food and artwork images, compare the result against the real subject to avoid inaccurate color.
AI may improve slight softness. Severe camera shake and missed focus remain difficult; use Unblur Image.
Enhancement may soften blocks and create continuity in a small image. Use Unpixelate Image for focused processing.
| Image problem | Recommended PxBee page |
|---|---|
| General low quality | Photo Enhancer |
| Need larger or HD dimensions | HD Photo Converter |
| Photo is blurred or soft | Unblur Image |
| Large pixels or blocks | Unpixelate Image |
| Distracting background | Background Remover |
| Unwanted objects | Magic Eraser |
| Canvas is too small | AI Image Extender |
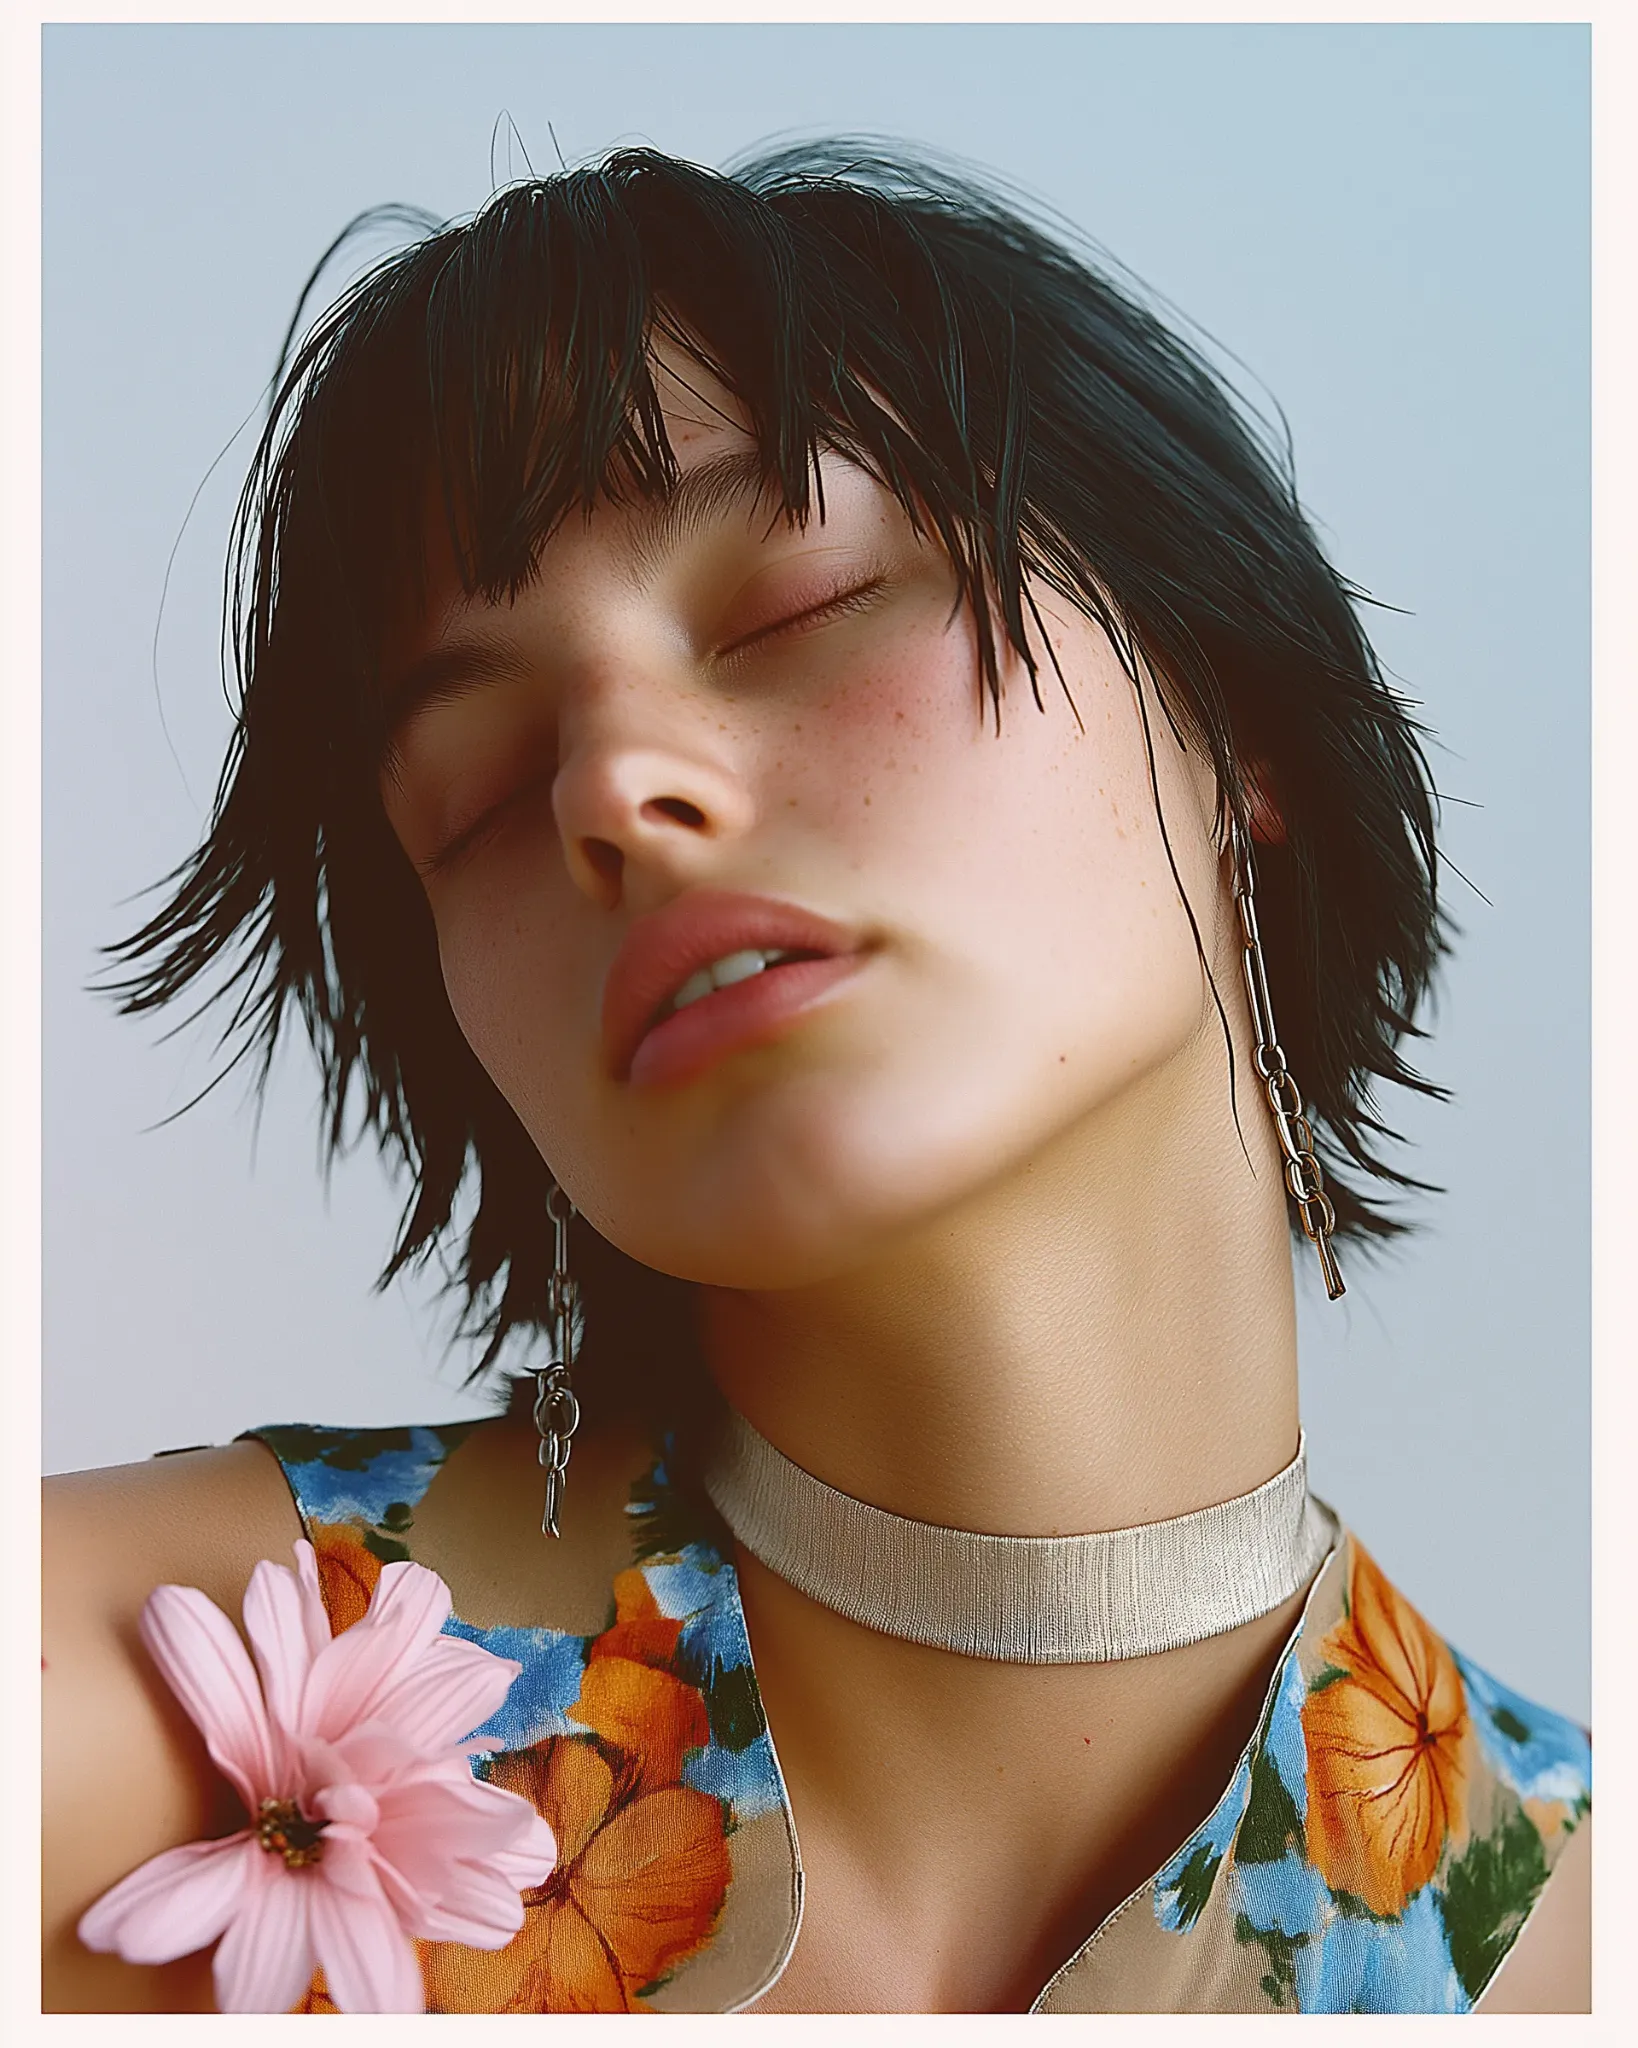
Portrait enhancement may improve facial clarity, lighting and edges while also inventing details not visible in the source.
Never use an AI-enhanced face for identity verification, forensic comparison, access control, official identification or claims about someone’s real appearance.
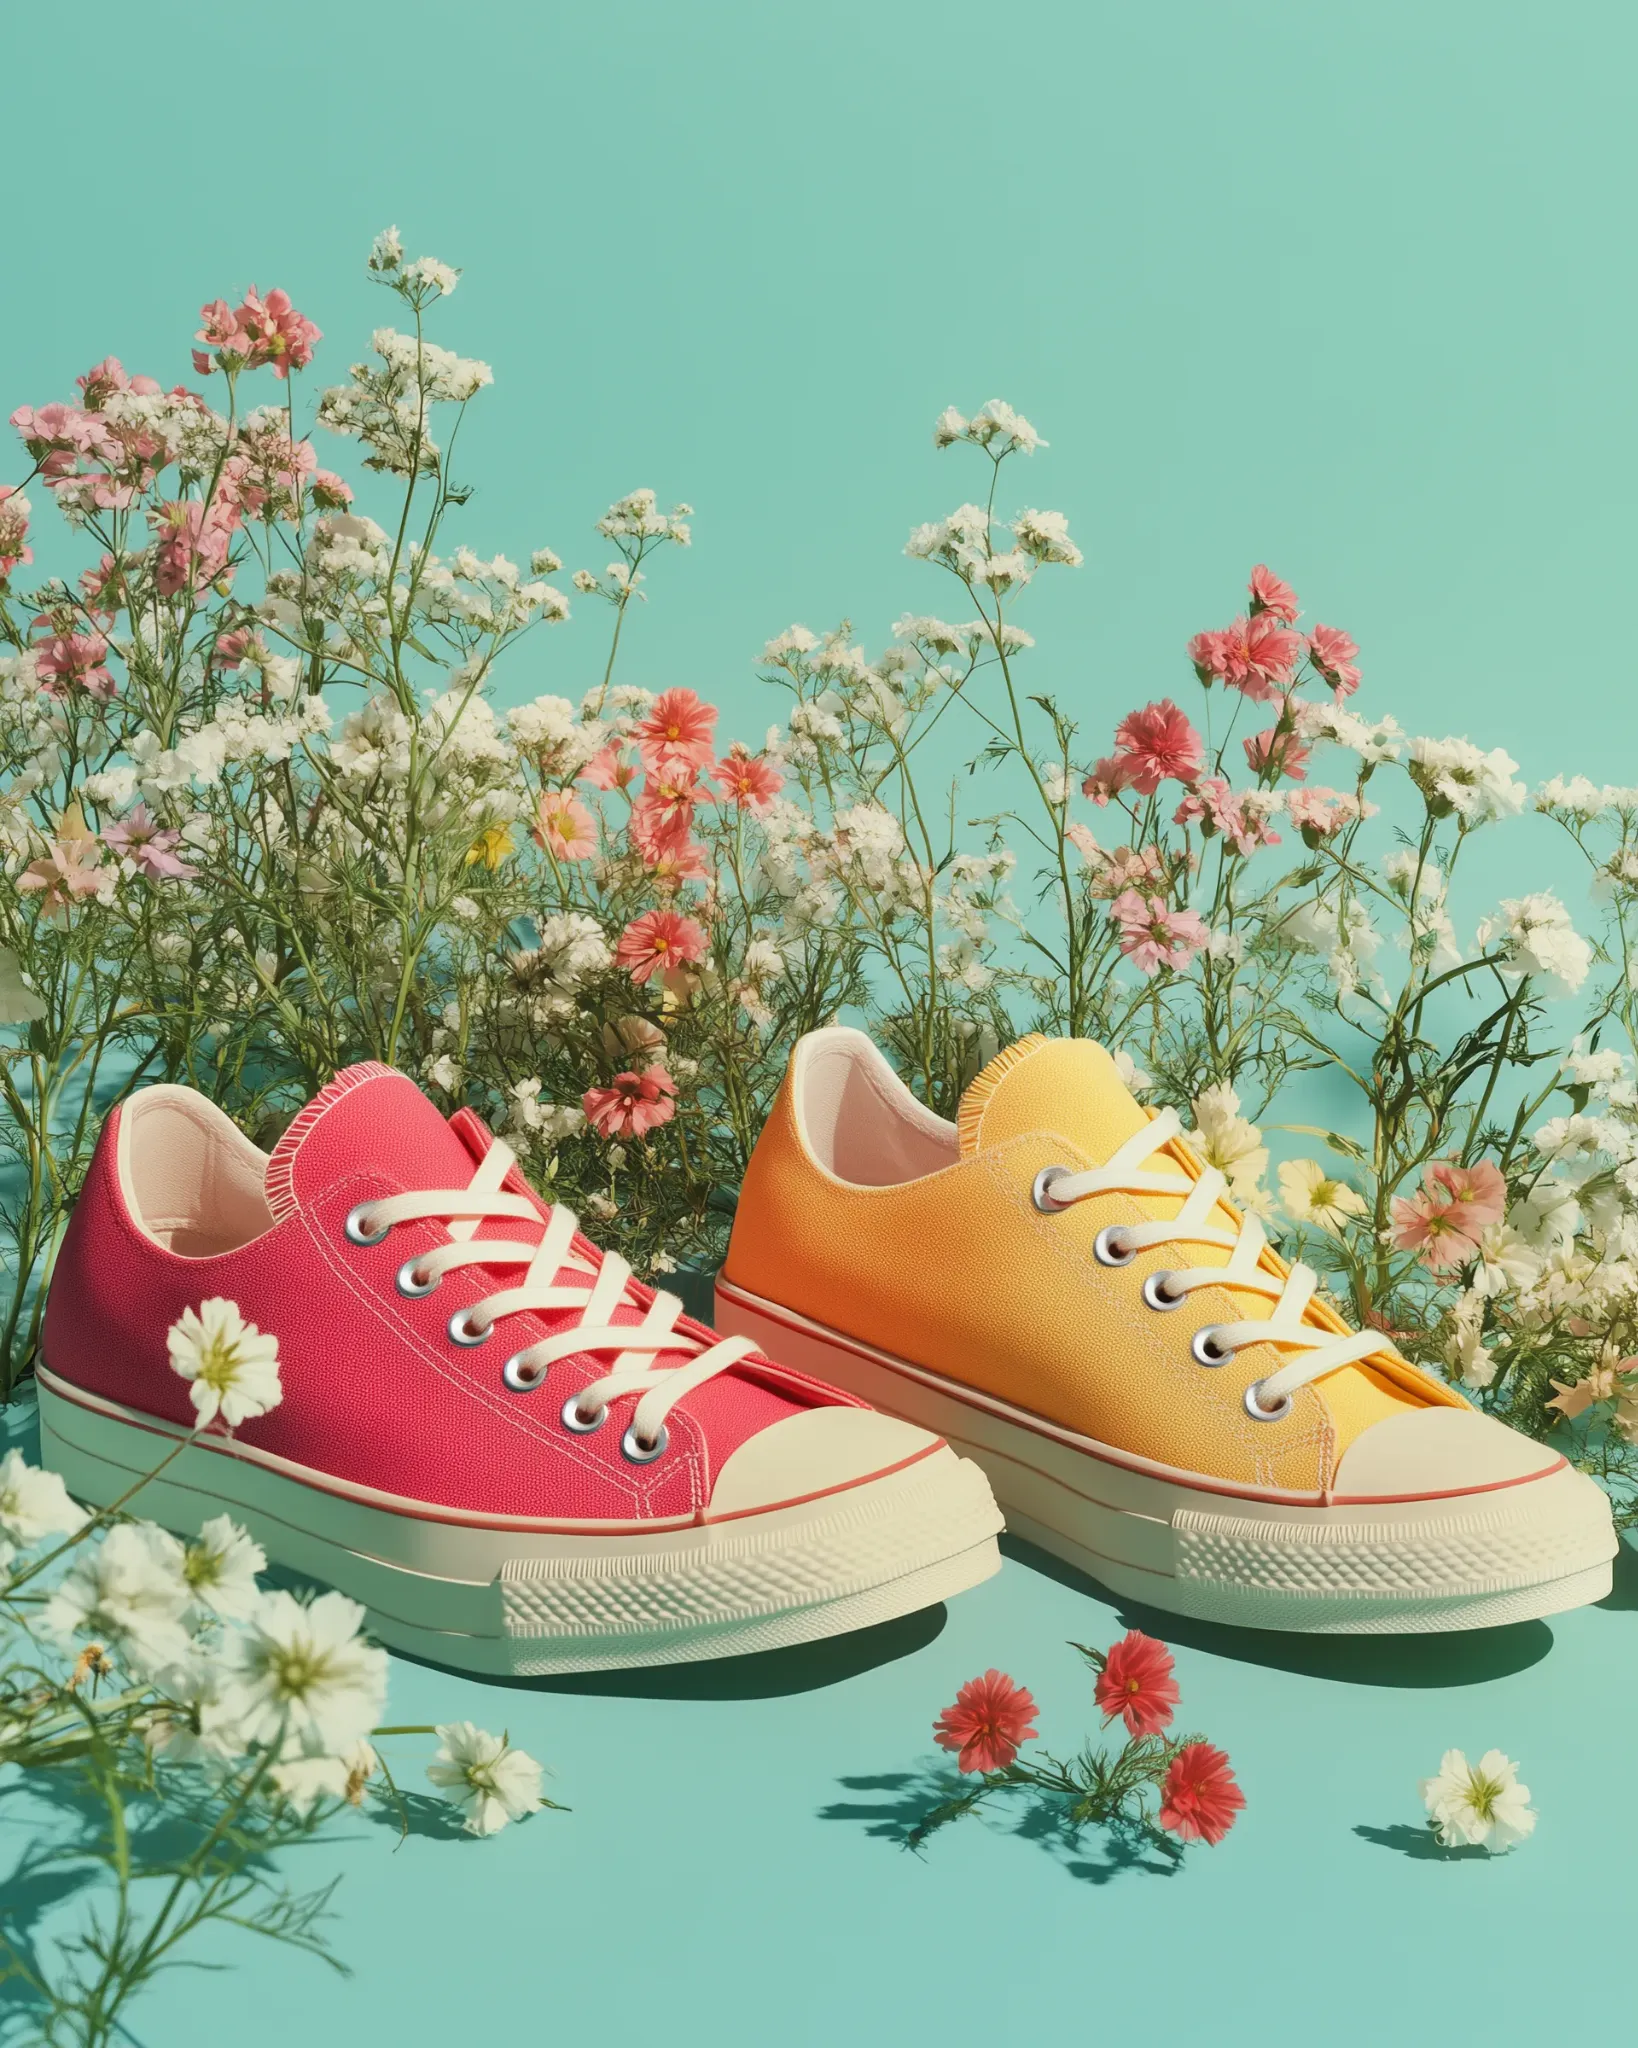
A clearer image can help customers inspect legitimate features, but enhancement must not create a misleading item.
For isolation use Background Remover; for a new setting use AI Background Generator.

Reasonable brightness, color and sharpness changes can improve viewing. Never hide damage, stains or defects; change finishes, boundaries or exterior conditions; or misrepresent room brightness.
Keep the original and follow applicable advertising, brokerage and disclosure rules.
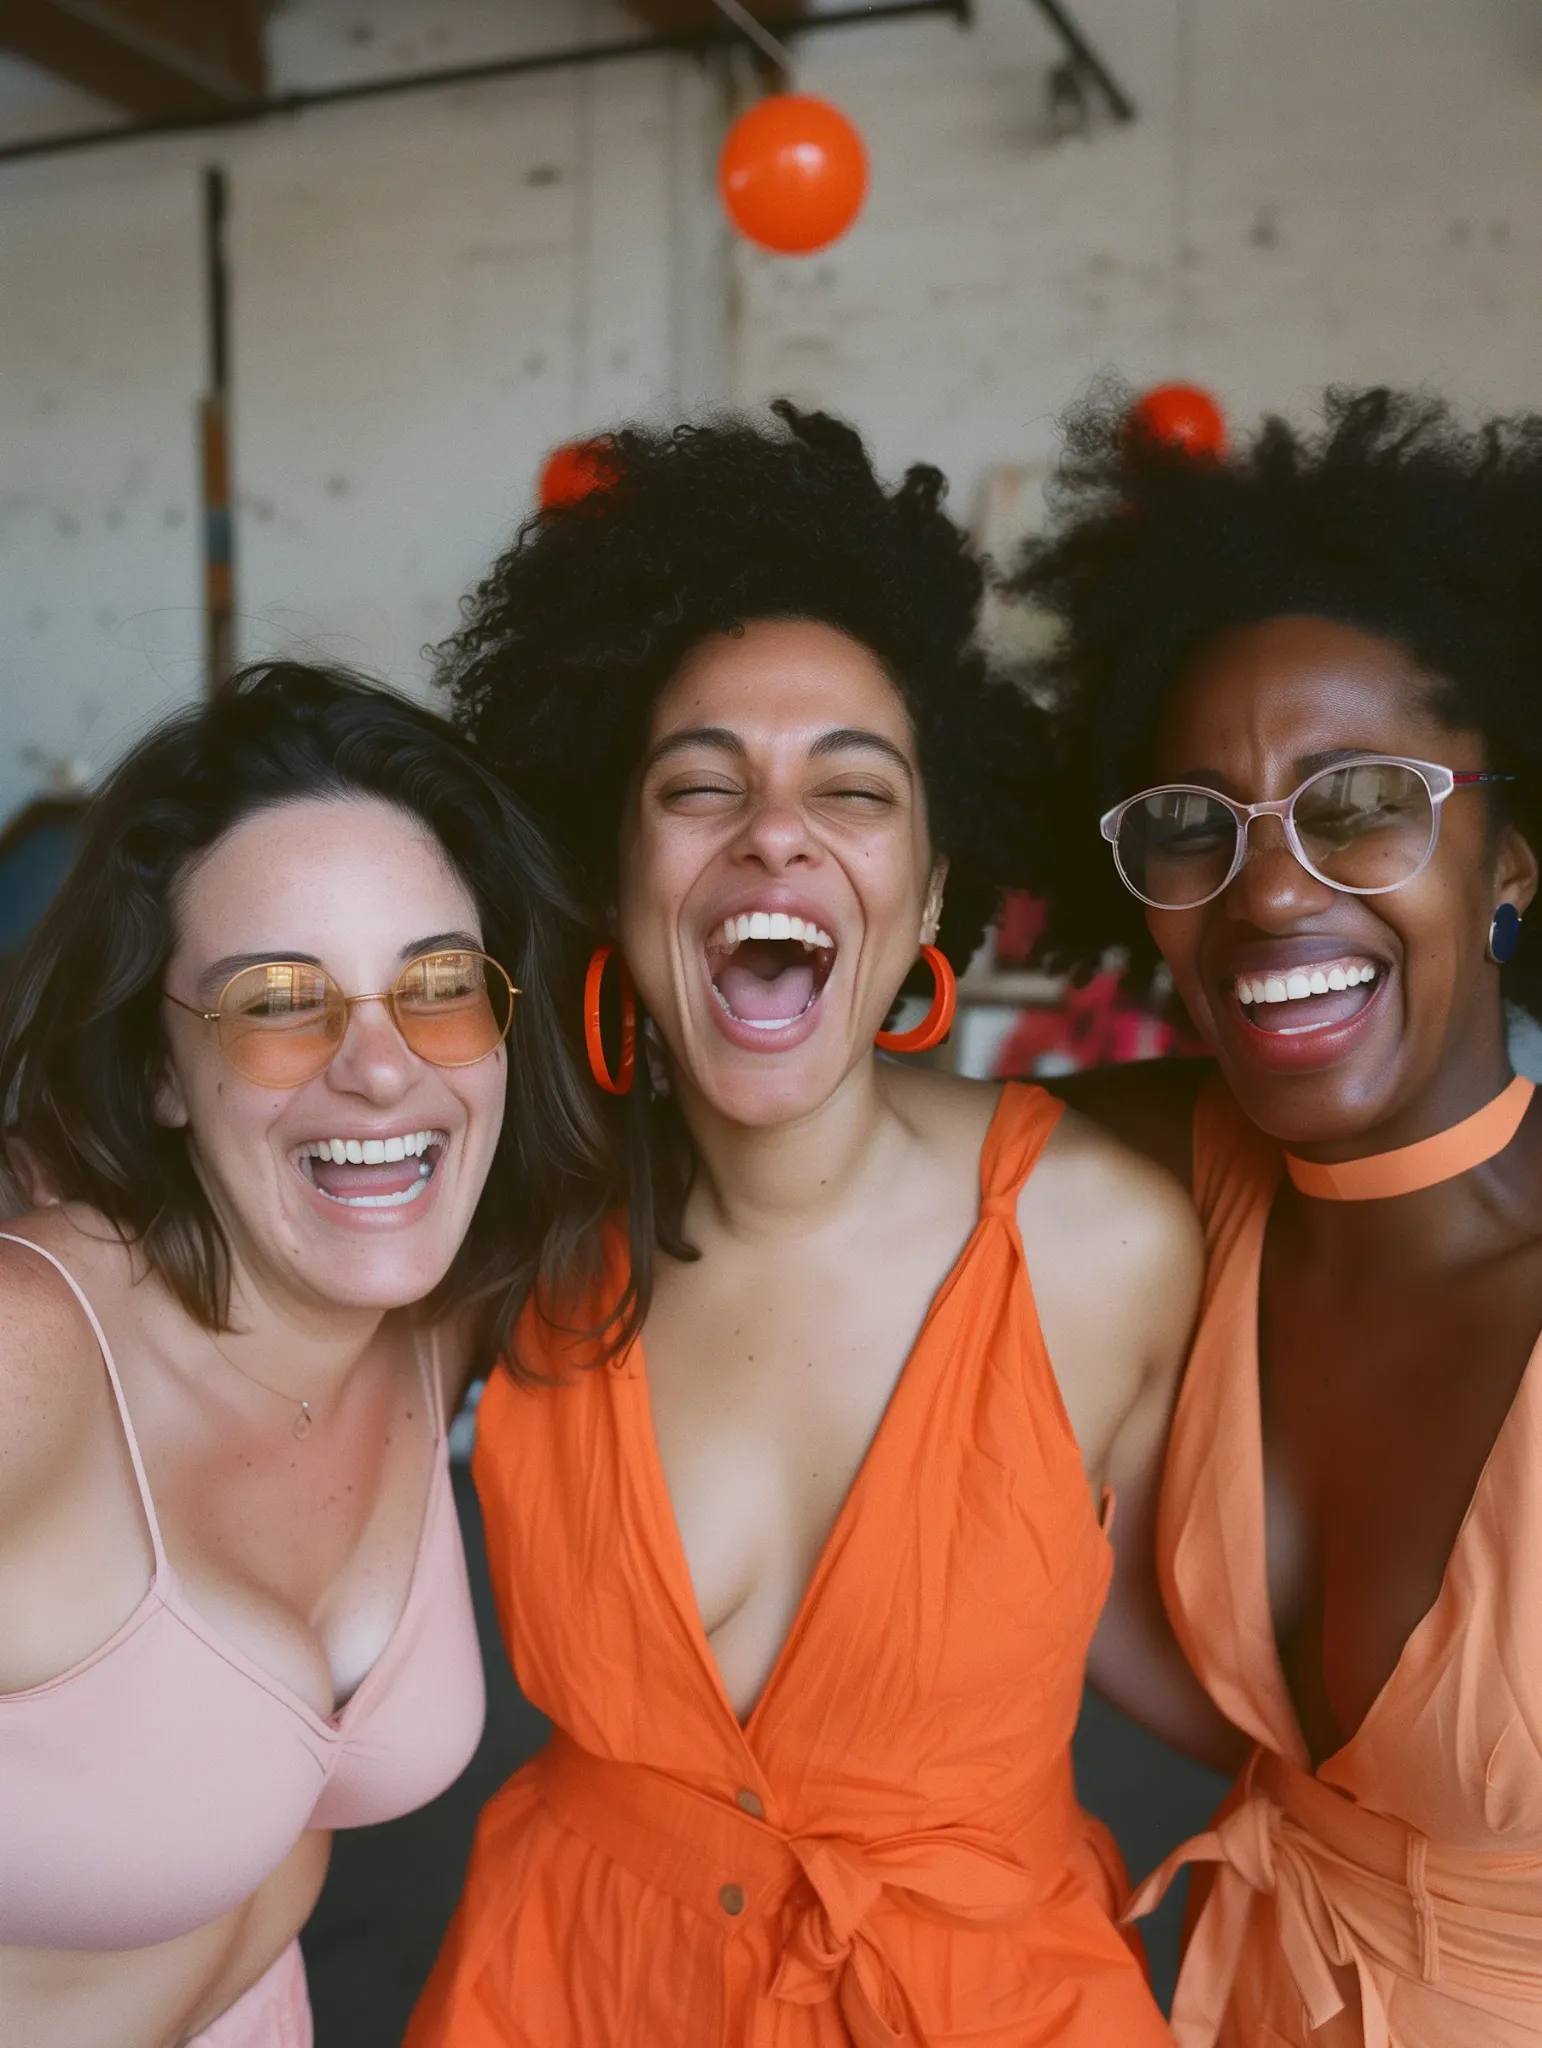
Prepare owned images for social posts, websites, presentations, email campaigns, ads, thumbnails and portfolios.
A sharper or brighter photo does not guarantee clicks or conversions; results also depend on message, offer, audience, layout and distribution.
A larger pixel count may help, but “4K” does not automatically mean print-ready. Print quality also depends on dimensions, pixels per inch, viewing distance, source quality, sharpening, paper, printer, color profile, compression and generated artifacts.
A photo may look clear on a phone and still lack reliable detail for a large close-viewed print. Print a small proof before an important enlargement.
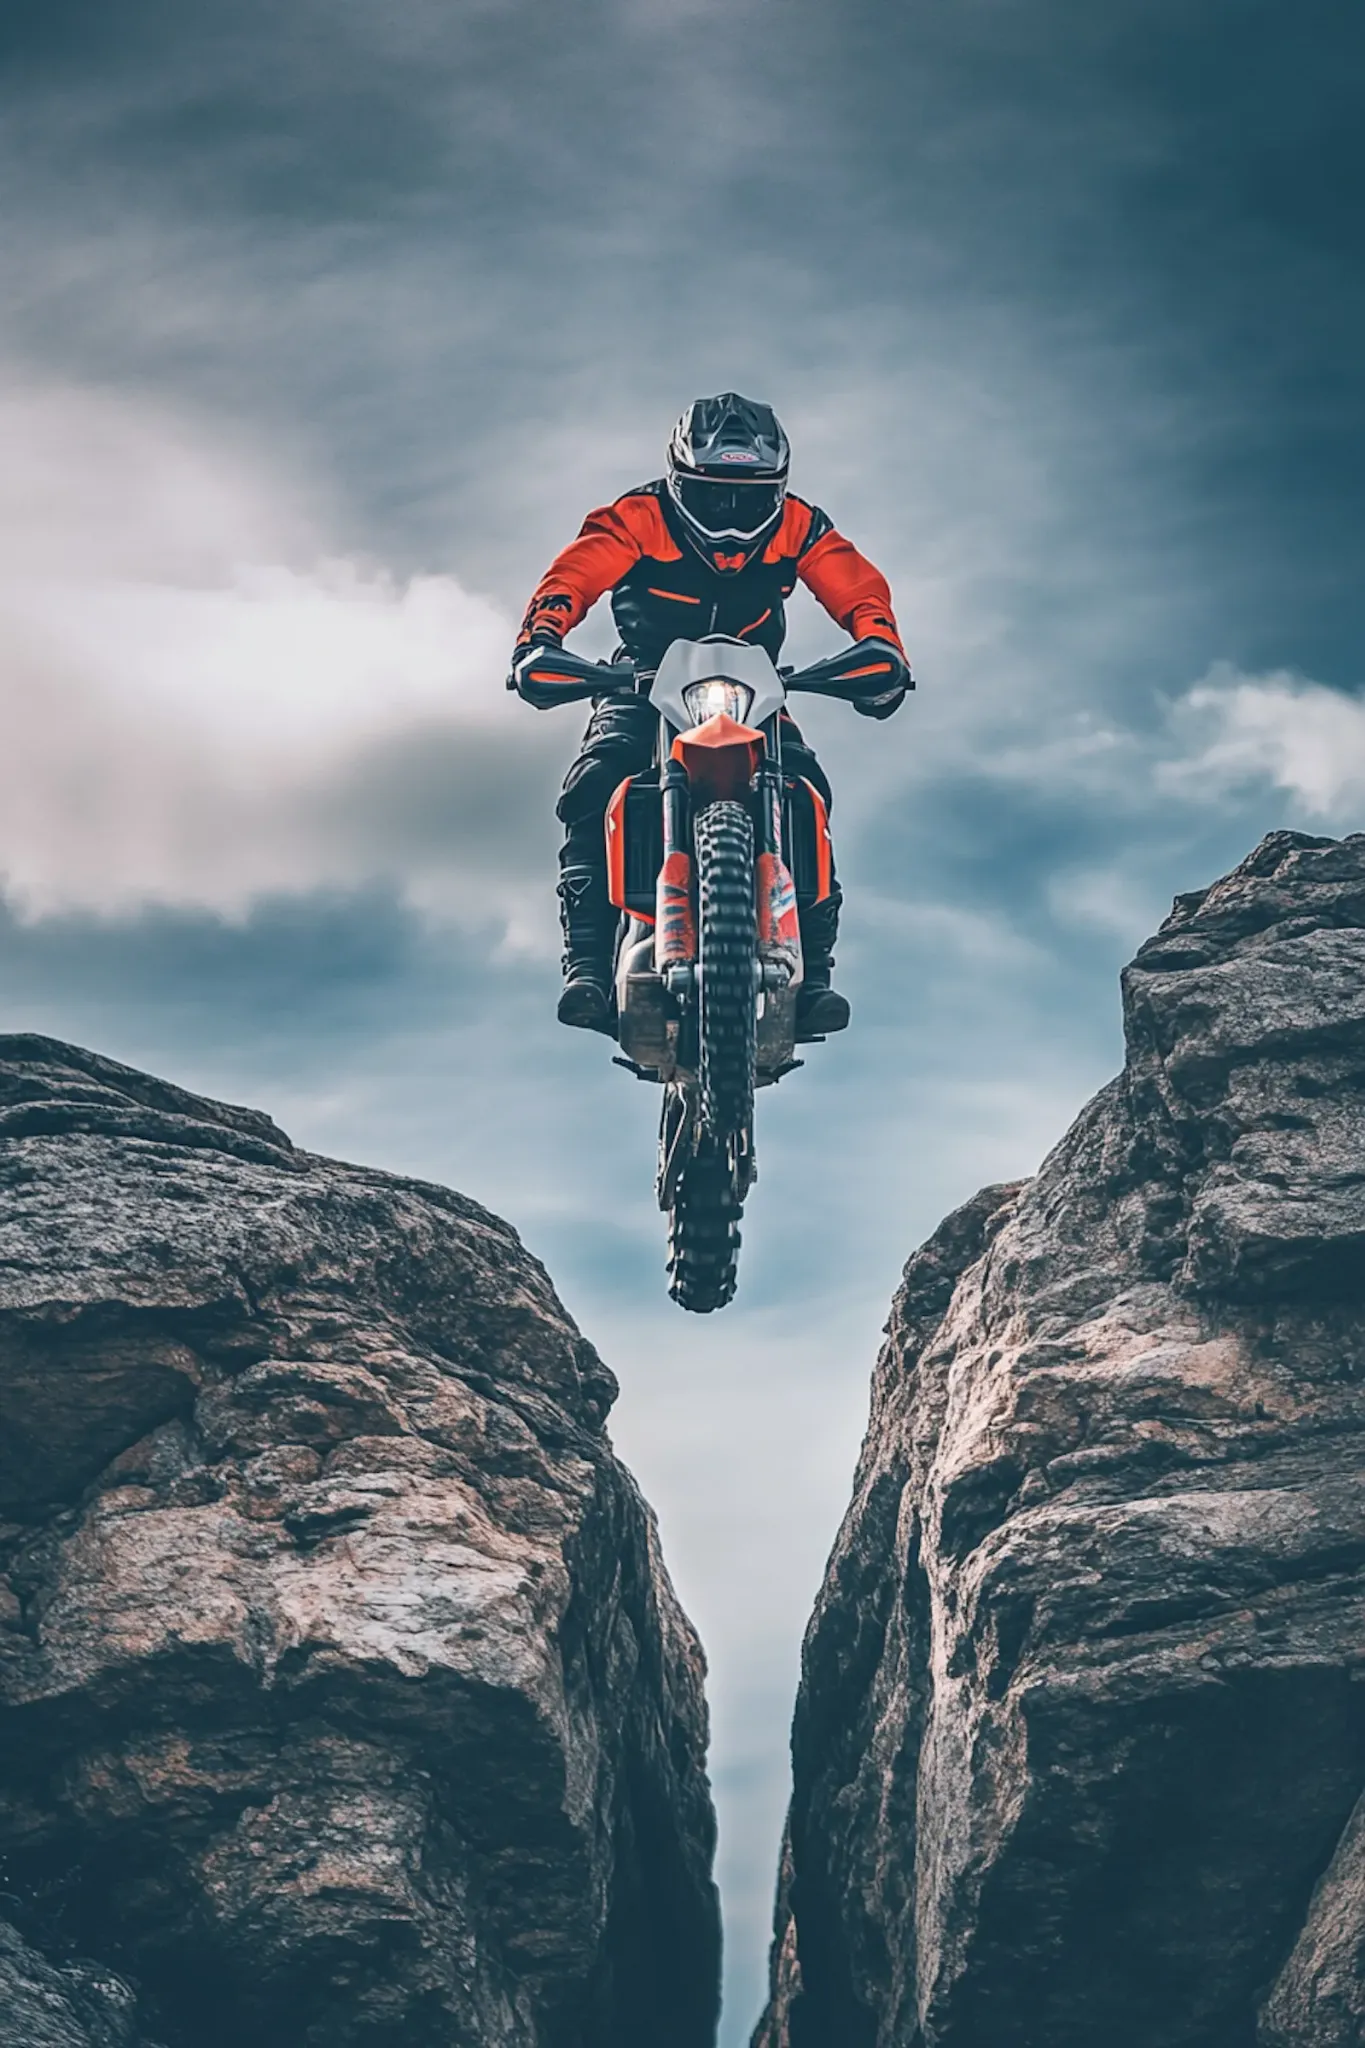
Inspect actual pixels rather than relying only on a fitted browser preview.
Check whether useful improvements outweigh generated artifacts.
These areas reveal hallucinated detail quickly.
Look at architecture, shelves, horizons, product edges and typography.
Inspect skin, hair, grass, fabric, wood, water and stone.
Use the original product or scene as the reference when accuracy matters.
Review original and output width, height, file size and file type before download.
Avoid screenshots, thumbnails and repeatedly compressed social-media downloads.
Upload the original small file. Resizing first may add interpolation without useful detail.
Cropping can focus processing, but excessive cropping reduces available pixels.
Multiple passes can exaggerate artifacts and create an artificial appearance.
The original remains the most reliable record of captured details.
Use HD Converter, Unblur or Unpixelate when one specific issue dominates.
Apply broad image-quality adjustments through a simple upload workflow.
Create larger output dimensions when supported by the selected processing mode.
Increase edge definition in slightly soft images.
Reduce some visible grain, speckles and block artifacts.
Improve brightness, contrast or balance when supported by the active model.
Inspect how the processed image differs from the source.
Upload JPG, JPEG, PNG, HEIF, HEIC and WebP files up to 20 MB.
Continue to dedicated HD conversion, unblur and unpixelate workflows.
An enhancer can produce artificial facial detail, changed text, altered labels, plastic skin, oversharpened edges, halos, smoothed textures, color shifts, repeated patterns, false detail and inaccurate reflections.
Do not use enhanced results as the sole basis for medical, legal, forensic, identification, insurance, scientific or investigative decisions.
Read AI Image Editing LimitationsUpload your image, compare the processed result with the original and confirm that important details remain accurate.
JPG, JPEG, PNG, HEIF, HEIC and WebP · Up to 20 MB