Dark-background subject separation

Remove Black Background From an Image Online

Upload an image with a black or dark background. PxBee separates the main subject so you can create a transparent image or replace the background with a different color or scene.

Try a Sample
  • JPG, JPEG, PNG and WebP
  • Up to 20 MB
  • Browser-based workflow

Want to add a black background instead? Use the Background Changer.

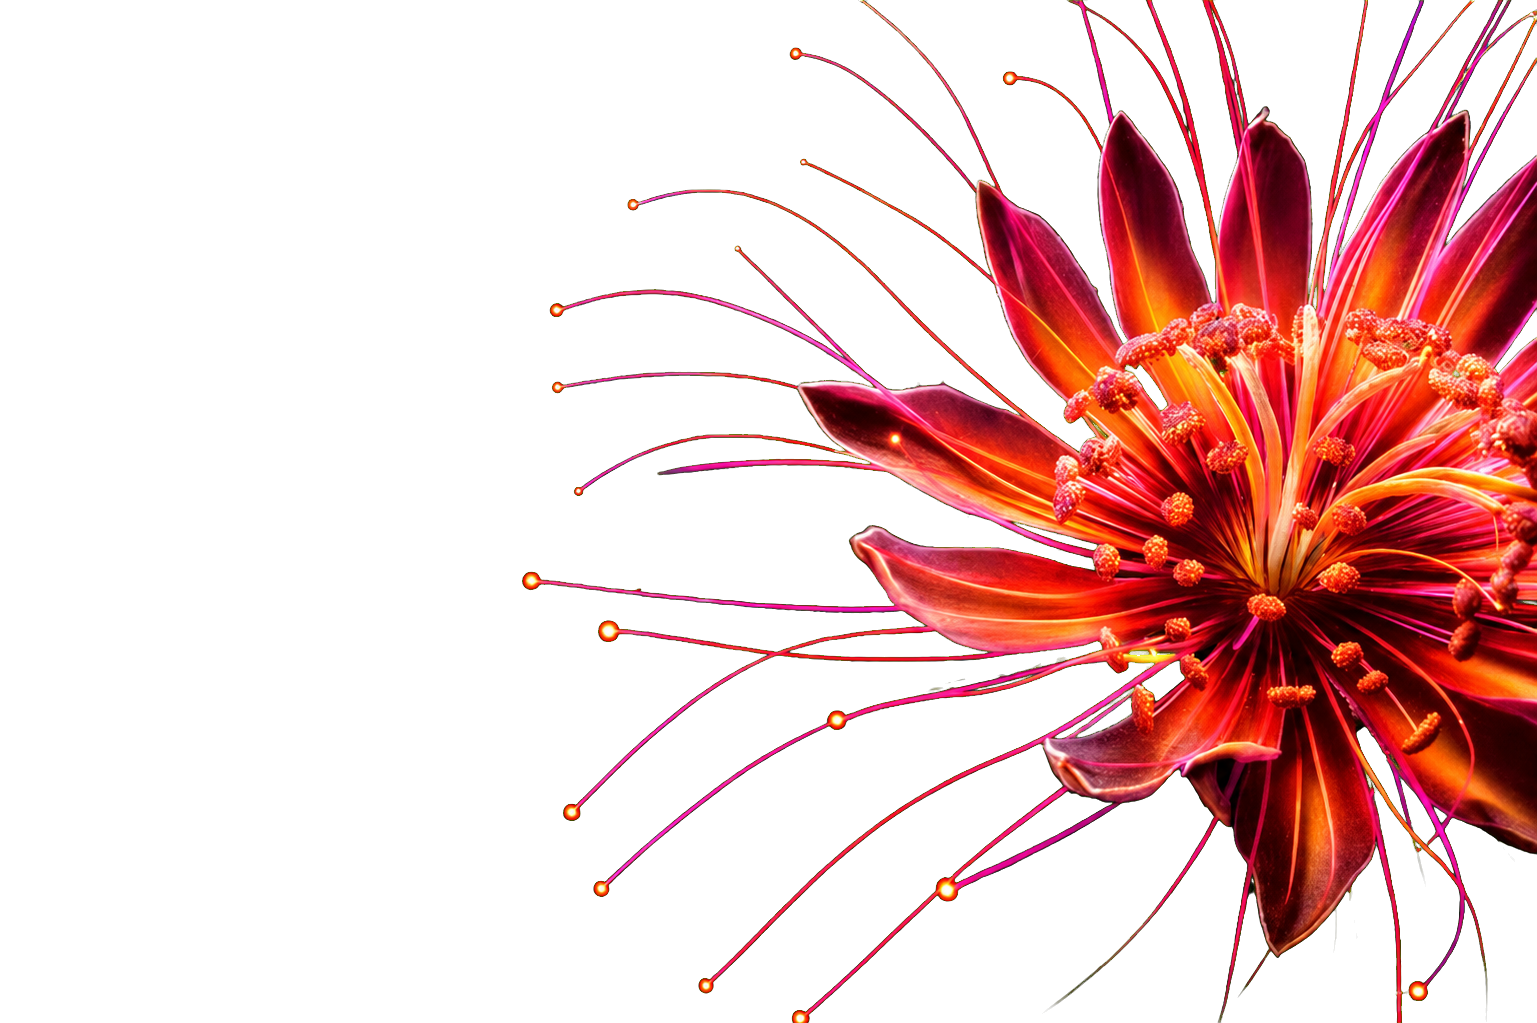
Red macro flower isolated on a transparent background BeforeAfter
No manual tracing first

Upload a Black-Background Image

Select a clear product photo, portrait, graphic or other image with a black or near-black background. PxBee will open the background-removal workspace after validating the file.

Dark foreground details may be close to the background color. Review hair, clothing, shadows and fine outlines before downloading.

Drop your image here

choose a file or paste a supported image

Choose ImagePNG, JPG, JPEG or WebP · Maximum 20 MB

Select an image to open the black-background removal workspace.

A focused dark-backdrop workflow

A Simple Image Black Background Remover

A black backdrop can make a subject stand out, but it is not suitable for every design. You may need a transparent product cutout, a white marketplace image, a presentation graphic, or an object that can be placed on a new scene.

PxBee’s Black Background Remover identifies the primary subject and removes the surrounding black background. There is no need to trace the object by hand before seeing a result.

After removing the background, you can:

  • Keep it transparent
  • Change it to white or another solid color
  • Upload your own background
  • Create a new scene with the AI Background Generator
  • Continue editing with PxBee’s other image tools
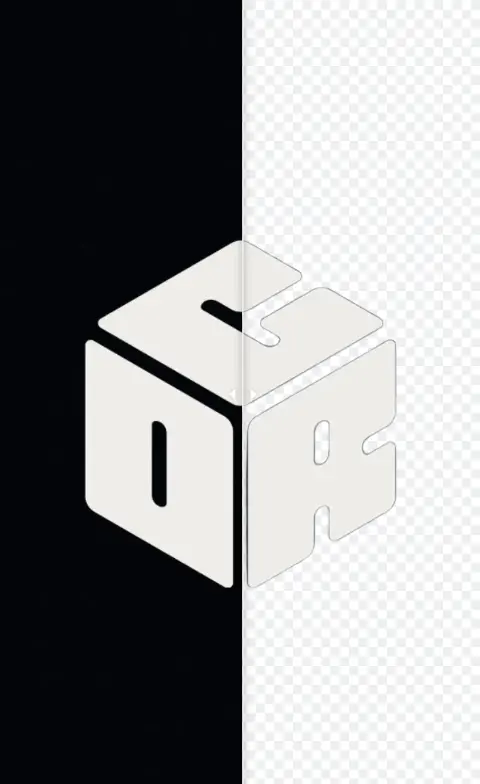
Light cube graphic before and after removal from a black background
Clear edges create a reusable foreground asset.
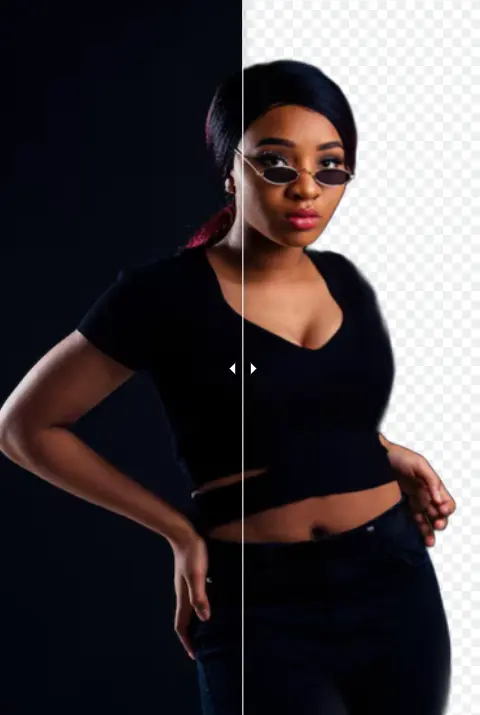
Woman in black clothing shown before and after dark-background removal
Black clothing remains part of the foreground.
Preserve the foreground

Remove the Background—Not Every Black Detail

Removing a black background is different from deleting every black pixel in an image.

A photo may contain black clothing, dark hair, product shadows, outlines, text or dark parts of the object itself. These details belong to the foreground and should remain visible.

PxBee analyzes the subject and background as separate image regions. For the best result, use a photo with visible contrast around the subject’s edges. Always inspect dark areas before downloading, especially when the foreground is also black.

Dark hairBlack clothingShadowsOutlines
Five practical steps

How to Remove a Black Background

Use a clear original, inspect dark edges on a light preview and export in the format your project needs.

  1. 01

    Upload your image

    Select or drag in a JPG, JPEG, PNG or WebP image. A clear, high-resolution original generally provides more usable edge detail.

  2. 02

    Let PxBee separate the subject

    The tool analyzes the image, identifies the primary foreground subject and clears the surrounding black or dark background.

  3. 03

    Review the cutout

    Look closely at hair, dark clothing, product edges, shadows and transparent materials. Preview the subject against a light color to reveal dark halos.

  4. 04

    Choose your new background

    Keep the background transparent, select a solid color, upload a custom image or create a new scene.

  5. 05

    Download your image

    Export the finished result in an available format. Choose PNG when your project requires transparency.

Reusable transparent output

Make a Transparent PNG From a Black Background

A transparent image can be placed on different websites, slides, product layouts, social posts and design templates without carrying its original black rectangle.

After the background has been removed, save the result in a format that supports transparency. PNG is a practical choice for cutouts and detailed graphics. JPG does not preserve a transparent background.

For a general transparent-image workflow, use the Transparent Background Maker or PNG Maker. You can also review MDN’s image-format guide ↗.

Cube graphic displayed after removal from a black background
PNGTransparency-supporting output
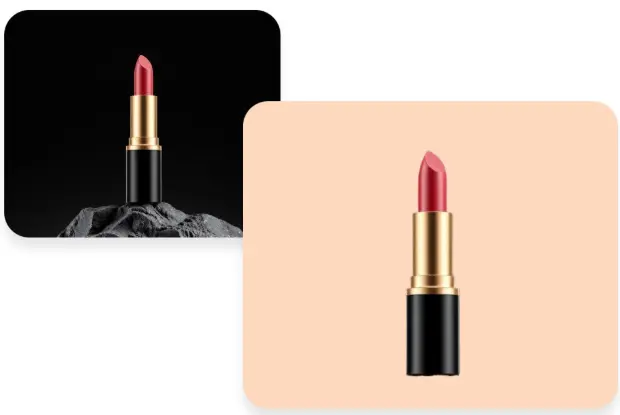
Lipstick shown on a black background and a warm colored replacement background
One subject can move from black to a new background.
Transparency is only one option

Replace Black With White or Another Color

You do not have to leave the finished image transparent.

Use a white background

A white background creates a clean, neutral result for catalogs, profile images, documents and many product listings. Use the Background Changer to add white, and review the White Background Tool for white-background workflows.

Choose a brand color

Place the cutout on a color that matches a presentation, campaign, store or visual identity.

Upload your own background

Use a branded layout, office scene, outdoor photo, texture or another image from your device.

Real design workflows

Useful for Products, Portraits and Design Assets

Prepare one clean subject for multiple layouts without carrying the original dark rectangle.

Product and portrait examples transitioning from black to transparent backgrounds
01

Product photos

Separate shoes, electronics, furniture, cosmetics, collectibles and other products from a dark studio backdrop. Place the cutout on a consistent store or campaign background.

02

Portraits

Remove a dark wall, curtain or studio background before creating a profile photo, social graphic, team page or presentation.

03

Logos and graphics

Clear a black rectangle surrounding a logo or simple graphic. If the image is specifically a logo, use the dedicated Logo Background Remover for focused guidance.

Open Logo Background Remover →
04

Presentations and reports

Create a cleaner visual that can sit naturally on light and colored slides without its original background box.

05

Stickers and creative assets

Turn a foreground subject into a reusable cutout for stickers, thumbnails, collages or social content.

06

UI and web design

Prepare image elements that can be placed over different interface colors and responsive page sections.

Reduce dark fringes

Tips for Cleaner Dark Edges

01

Start with the original image

Repeated screenshots and compressed social-media downloads can create blocky edges and dark color artifacts. Use the original file when possible.

02

Look for foreground contrast

The subject is easier to separate when its boundary remains visible. Black-on-black images with very little lighting separation are more difficult.

03

Test the result on a light background

A checkerboard may hide a remaining dark fringe. Temporarily place the result on white, yellow or another bright color to inspect it.

04

Watch reflective and transparent objects

Glass, smoke, sheer fabric, glossy products and reflections can contain parts of the original background. Examine these areas closely.

05

Try another source image when necessary

No automatic remover is perfect for every photo. When subject and background are visually indistinguishable, a better-lit or higher-resolution source may produce a cleaner cutout.

Quick answers

Black Background Remover FAQ

Upload the image to PxBee, let the tool separate the foreground subject, and review the result. You can then keep the background transparent or replace it with a different color or image.

PxBee currently presents this tool as free to use. Check the editor for any applicable usage, export, credit or account limits before uploading.

Yes. Remove the existing background and export the cutout in a transparency-supporting format such as PNG.

PNG supports transparency, making it suitable when you want to place the subject over another background. JPG does not preserve transparent areas.

The tool is intended to separate the foreground subject from the surrounding background, not remove every black pixel. However, black-on-black images are challenging when the subject’s edges are not visually distinct. Inspect all dark areas before using the result.

Yes. After removing the original black background, apply a white background. Use the Background Changer when you need to add white behind the cutout.

PxBee is browser-based and this page is designed for supported mobile browsers, including current iPhone and Android screen sizes.

The current PxBee interface supports JPG, JPEG, PNG and WebP files up to 20 MB.

It may be able to separate dark gray and near-black backgrounds when the foreground subject remains distinguishable. Results depend on lighting, contrast, edge detail and image quality.

A dark fringe can come from background color reflecting onto the subject, soft focus, compression or semi-transparent edge pixels. Preview the cutout on a light background and use the cleanest original image available.

Yes, but the dedicated Logo Background Remover provides a more focused workflow for logo files and transparent branding assets.

Use the Background Changer to remove the current background and replace it with black.
Your image is ready for a new setting

Ready to Remove the Black Background?

Upload your image, isolate the subject, and choose a transparent, white, colored, custom or generated background.

Try a Sample
JPG, JPEG, PNG and WebP supported